Shooter
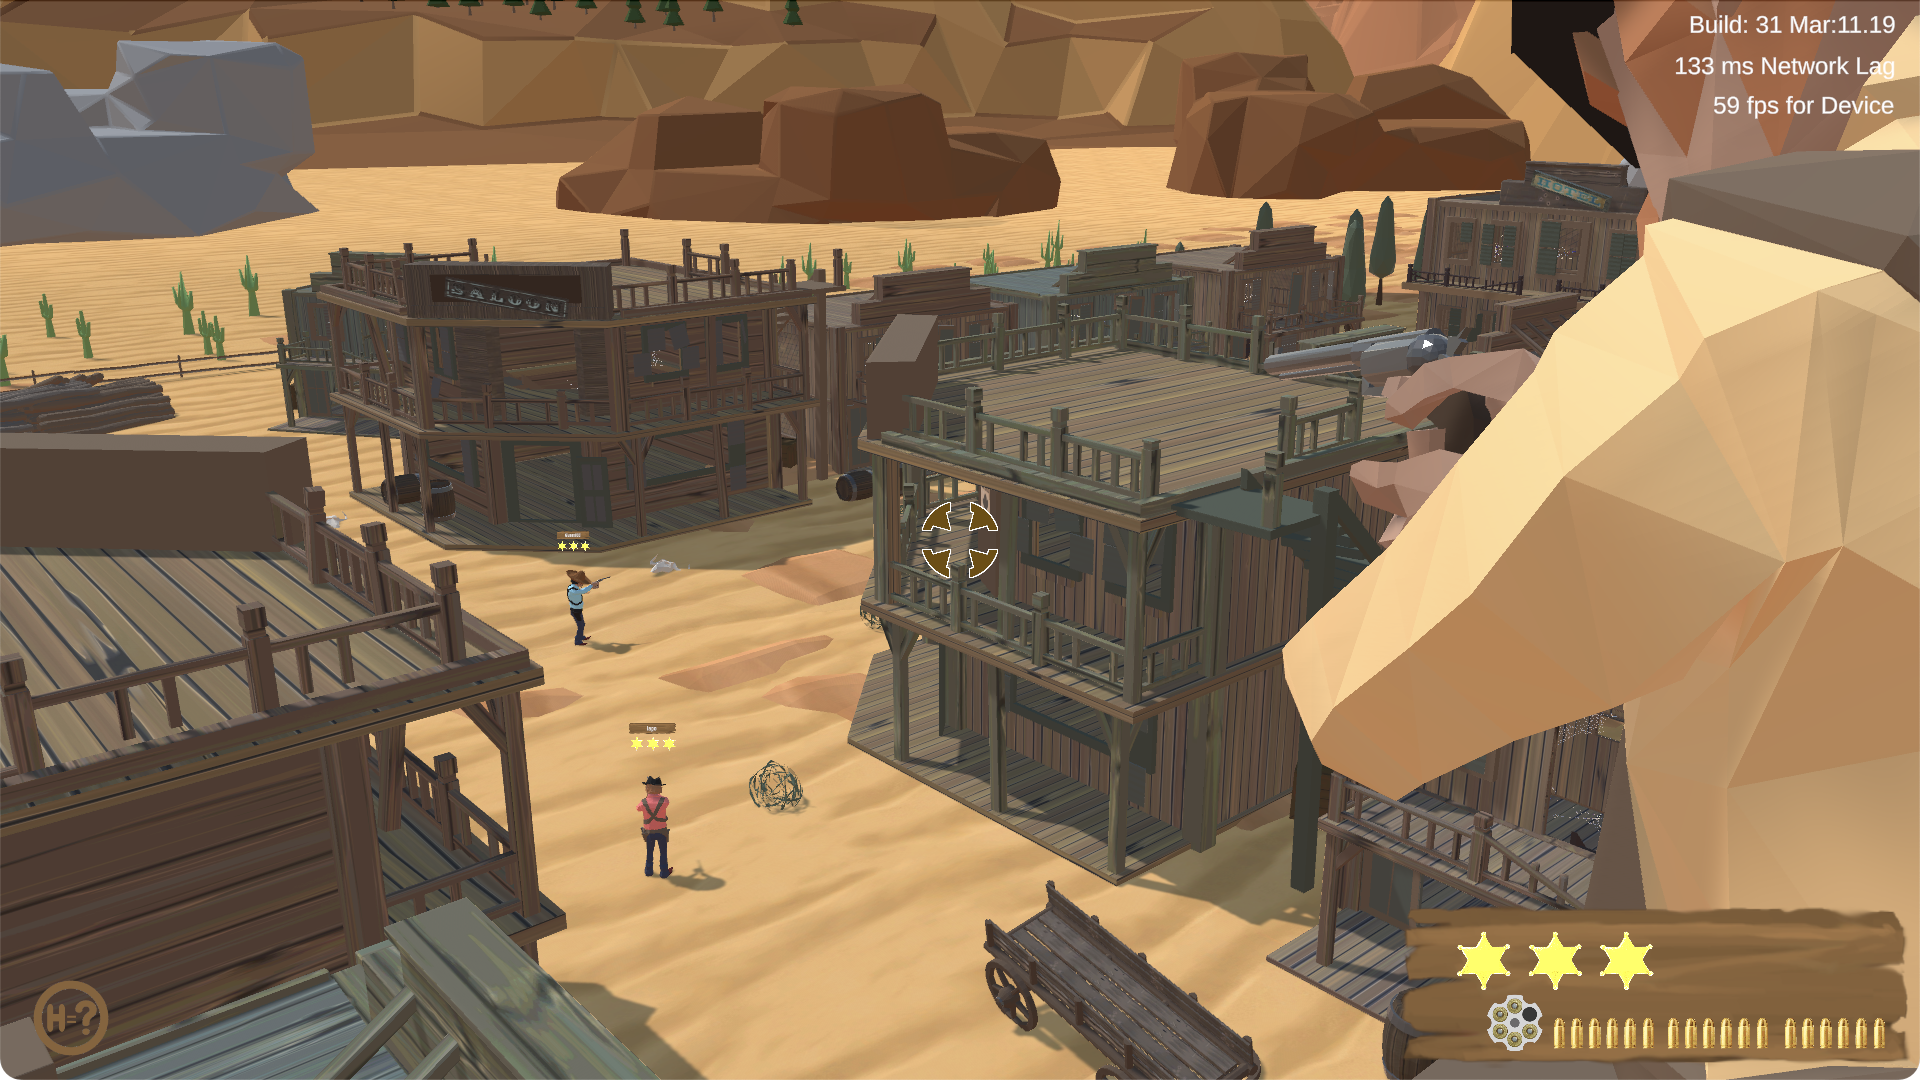
The Shooter example shows how to develop a complete multiplayer first/third person combat game with Unity and SmartFoxServer. The game utilizes SmartFoxServer's ability to mix TCP and UDP based messaging, and makes full use of SmartFoxServer Lag Monitor.
TCP is the most common protocol deployed on the Internet. Its dominance is explained by the fact that TCP performs error correction. When TCP is used, there is an assurance of delivery. This is accomplished through a number of characteristics including ordered data transfer, retransmission, flow control and congestion control. During the delivery process, packet data may collide and be lost, however TCP ensures that all packet data is received by re-sending requests until the complete package is successfully delivered.
UDP is also commonly found on the Internet. However UDP is not used to deliver critical information, as it forgoes the data checking and flow control found in TCP. For this reason, UDP is significantly faster and more efficient, although, it cannot be relied on to reach its destination.
In this example, all critical game information between the server and client are sent via TCP for reliable delivery. This could be shooting for example, or animation sync, damage messages, etc. On the other hand, sending updates to the players Transform, which is continuously sent by and to all clients, is executed using UDP.
The example features a simple lobby and multiple games which can run at the same time as individual arenas. We have also implemented several of Unity's features that are included in Unity 6 and above, like:
- Input System: this system allows using any kind of input device to control your Unity content. Input Actions allow you to separate the logical meaning of an input (the things your user can do in your game or app, such as move, jump, crouch) and the device-specific controls (for example, pressing a button or moving a gamepad stick). You create these using Unity’s Action Asset editor, and save as an Input Asset. This then gets added to the
ShooterGameManagerclass under the Player Settings. - Cinemachine Camera Controller: this is a suite of modules for operating the main Unity camera. As written in Unity’s documentation, Cinemachine solves the complex mathematics and logic of tracking targets, composing, blending, and cutting between shots. In this example, we use Cinemachine to provide for 1st and 3rd person perspectives and to seamlessly switch between them. Cinemachine also provides a camera collider, that will transition the view around solid objects.
- Animation State Machine: Unity’s Animation Controller manages the various animation states and the transitions between them using a State Machine, and can be thought of as a visual flow-chart. The states and transitions of a state machine can be represented using this graph diagram, where the nodes represent the states and the arcs (arrows between nodes) represent the transitions. By combining these with animation parameters, we can link the character transform movement transmitted from the server, with the associated 3D character.
You can find additional details on each of these components on the Unity Documentation website, but they are easily configured using the included scripts and the editor's inspector window.
Source code
- Get the full examples pack from the SmartFoxServer website
- Get this example source from the Unity Asset Store
The porting of this tutorial from the SmartFoxServer 2X documentation is still in progress. We apologize for the inconvenience.